How To Preserve Flowers : Top 5 Ways To Make Keepsakes
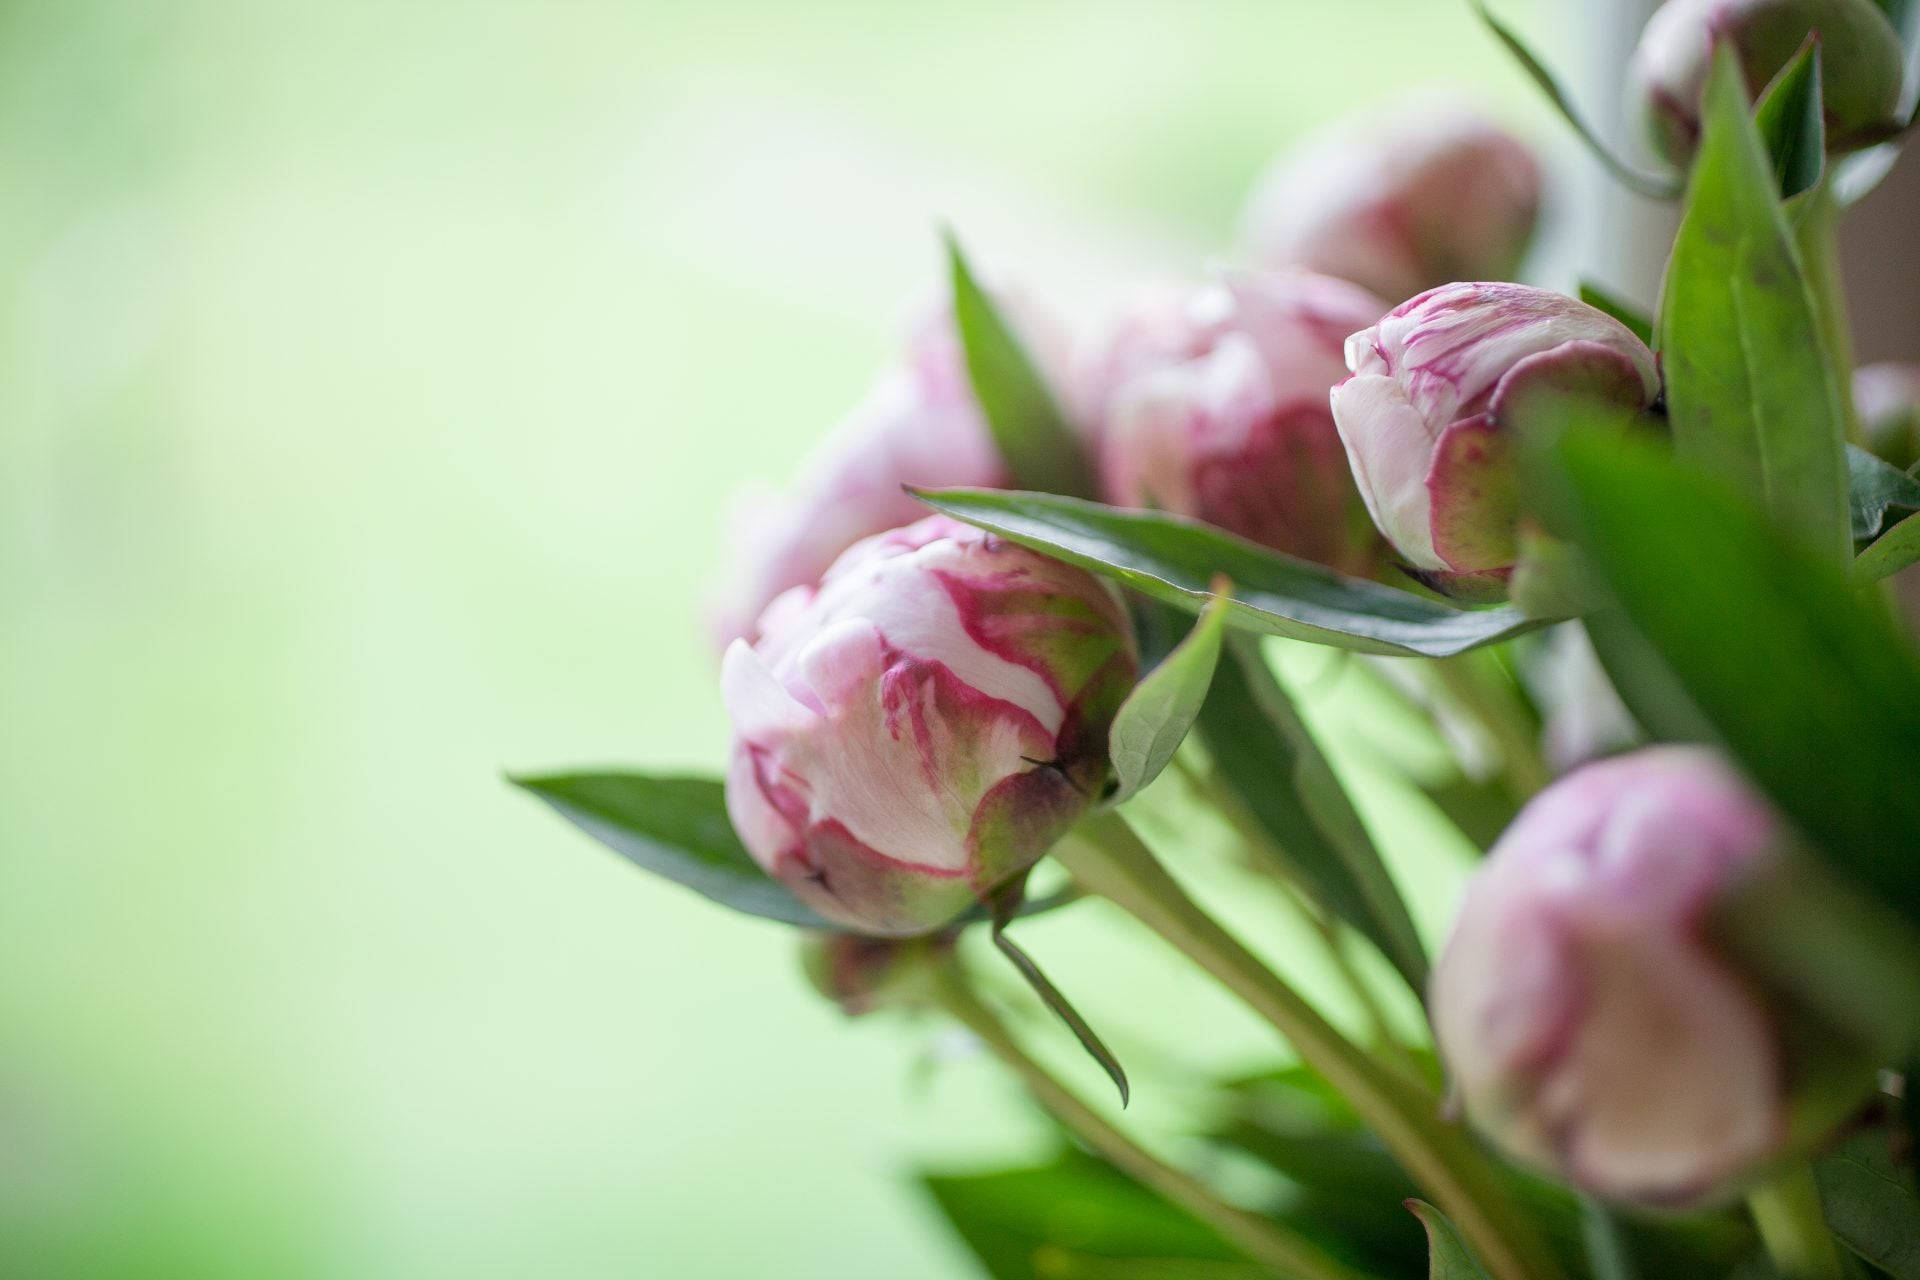
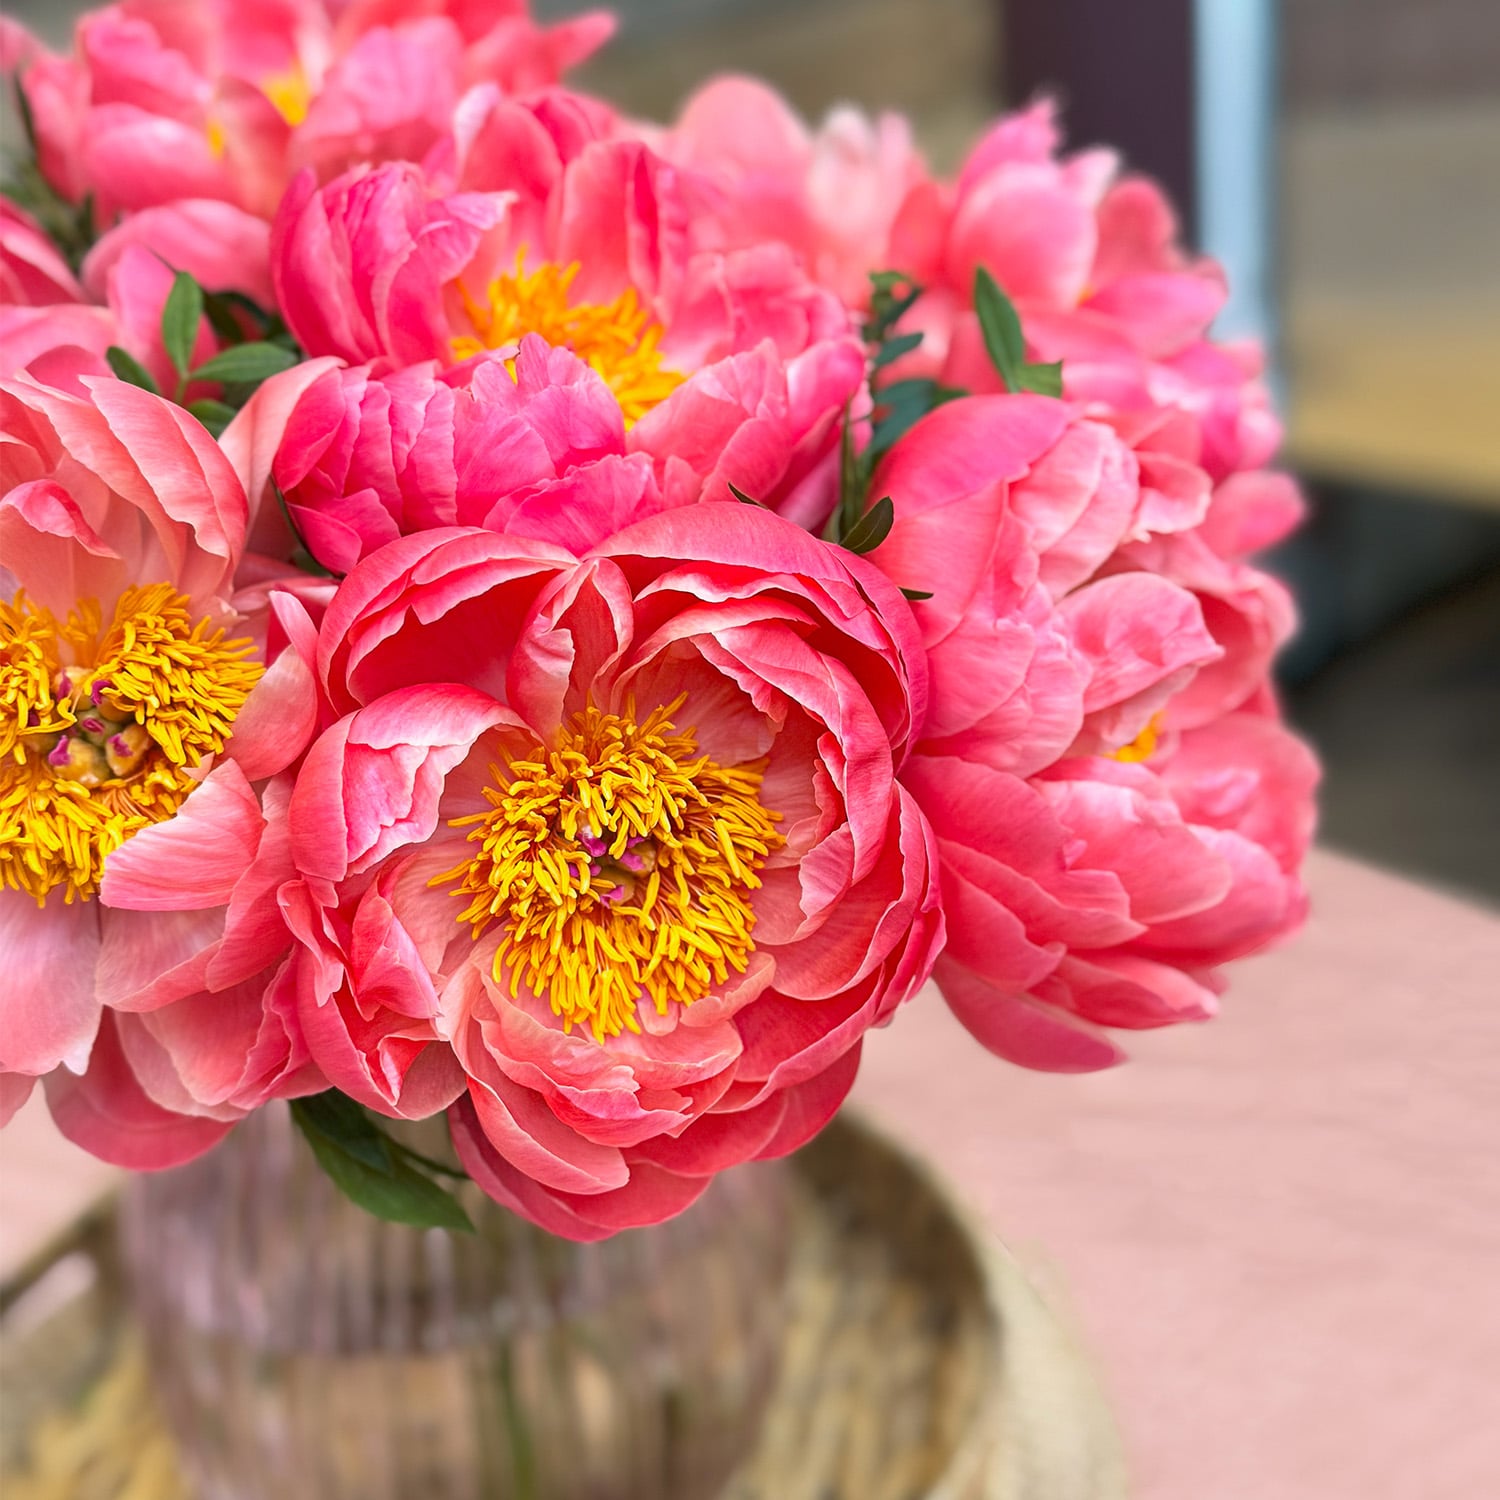
Preserving flowers is a beautiful way to cherish memories. It allows you to keep your favorite blooms vibrant long after their peak. Whether you’re a bride wondering how to preserve wedding bouquet flowers or a nature lover interested in dried arrangements, there are various methods to suit your needs.
I will be exploring different techniques for preserving flowers. From air drying to using silica gel, anyone can become a flower preservation expert. I can also suggest some flowers that transform your home and preserve beautifully, with lasting colours and textures.
Methods for Preserving Flowers
In this guide, I will go through each step on how to select, prepare, and use flower preservation techniques to keep their beauty and meaning for many years.
If you want a quick and simple way to preserve flowers, I suggest using hairspray. It can help extend the life of some flowers by locking in moisture and acting as a protective barrier against oxidation and evaporation. You won’t need any special skills or equipment, and you likely already have hairspray at home.
Air Drying
Air drying is one of the simplest and most effective methods to preserve flowers, allowing you to maintain their natural beauty without the use of special tools or materials. Here’s a step-by-step guide on how to air dry flowers:
Step-by-Step Guide to Air Drying Flowers
- Choose the Right Flowers: Select fresh flowers that are in good condition, preferably with blooms that are just beginning to open. Some popular choices for air drying include roses, lavender, and baby’s breath.
- Prepare the Flowers: Remove any leaves from the stems to prevent mold and ensure a cleaner drying process. You may also want to trim the stems to your desired length.
- Bundle the Flowers: Gather your flowers into small groups and tie the stems together using twine or rubber bands. Keep the bundles small to allow for better airflow around the flowers.
- Select a Drying Location: Find a cool, dark, and dry place to hang your bundles. This could be a closet, attic, or a well-ventilated room. Avoid direct sunlight, as this can cause the colors to fade.
- Hang the Bundles: Hang the flower bundles upside down by attaching them to a hook, nail, or even by tying them to a clothes hanger. Make sure they are spaced apart to allow air to circulate freely.
- Wait for the Drying Process: Leave the flowers to dry for about two to three weeks. Check periodically to ensure there are no signs of mold or moisture.
- Store the Dried Flowers: Once fully dried, you can use them in arrangements, decorations, or keep them in a vase. To ensure longevity, store them in a cool, dark place and avoid areas with high humidity.
Air drying flowers is a wonderful way to create stunning dried arrangements while preserving the memories associated with those blooms.
Pressing
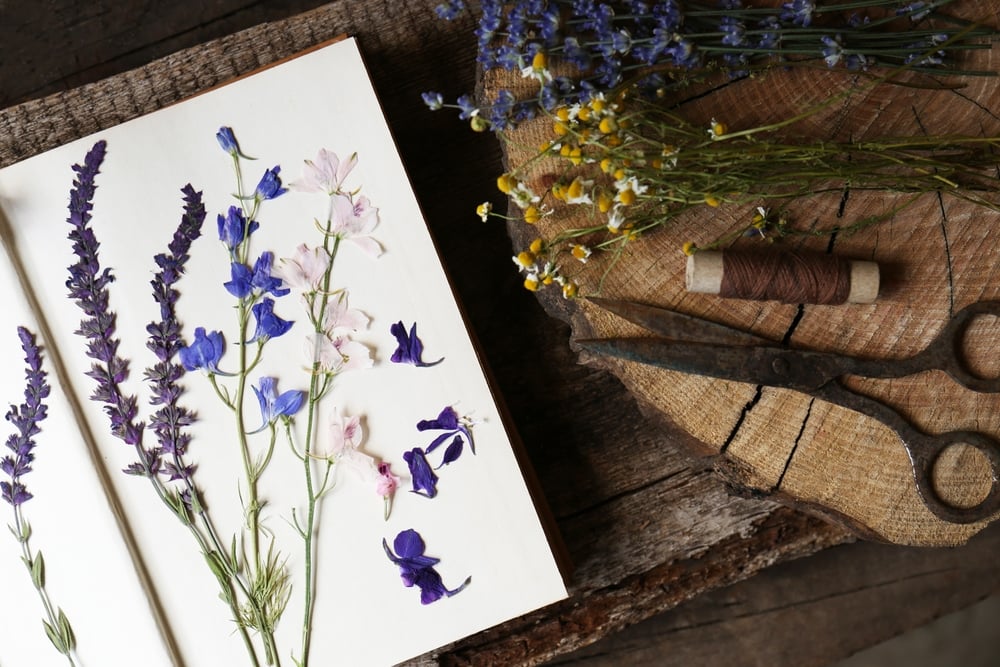
Pressing flowers is a timeless method of preservation that captures the intricate beauty of your blooms while creating flat, two-dimensional pieces suitable for framing or crafting. Here’s a step-by-step guide on how to press flowers to preserve them:
Step-by-Step Guide to Pressing Flowers
- Choose the Right Flowers: Select fresh flowers that are flat or can be pressed down easily. Some great options include daisies, pansies, and violets. Avoid thicker flowers, as they may not press well.
- Prepare the Flowers: Remove any leaves or stems that could create moisture, which may lead to mold. Trim the flowers to a desirable size.
- Select Your Pressing Method:Book Method: Use a heavy book or a flower press. Place a few sheets of absorbent paper (like parchment or blotting paper) between the pages, then lay the flowers flat and cover them with another piece of paper. Close the book and place it under a weight to apply pressure.Microwave Method: Place flowers between two sheets of paper towel and into a microwave-safe dish. Microwave on low for short intervals of 30 seconds until the flowers are dry.
- Apply Pressure: If using the book method, stack several heavy books on top to provide adequate weight. If using a flower press, tighten the screws to securely hold the flowers in place.
- Wait for the Pressing Process: Allow the flowers to press for about 1-3 weeks, checking periodically to ensure they are drying properly. In the microwave method, check frequently to avoid overheating.
- Remove and Store the Pressed Flowers: Once fully dried, carefully remove the flowers from the press or book. Store them between sheets of parchment paper in a cool, dry place to avoid moisture.
- Display Your Pressed Flowers: Use your pressed flowers in various craft projects, frame them for wall art, or include them in scrapbooks or cards to keep your memories alive.
I personally enjoy pressing flowers; it’s my favorite method to create small keepsakes, and it’s quite simple to do.
Glycerin
Preserving flowers with glycerin is a fantastic way to maintain their natural shape and color while giving them a flexible, long-lasting quality. Glycerin replaces the water in the flower, helping it retain its beauty for years to come. Here’s a step-by-step guide on how to use glycerin to preserve flowers:
Step-by-Step Guide to Preserving Flowers with Glycerin
Gather Your Materials:
- Fresh flowers (ideal choices include roses, eucalyptus, and maple leaves)
- Glycerin (available at pharmacies or online)
- Water a container or vase for soaking the flowers
- Prepare the Glycerin Solution: Mix one part glycerin with two parts warm water in a container or vase. Stir the solution until well combined.
- Prepare the Flowers: Select fresh flowers that are in good condition. Remove any leaves that will be submerged in the glycerin solution, as these can decay and affect the preservation process. Trim the stems to your desired length, cutting at an angle to allow better absorption.
- Soak the Flowers: Place the prepared stems of the flowers in the glycerin solution. Ensure that the stems are submerged while the blooms are above the surface.If you’re preserving larger blooms, you may need to adjust the container or the amount of glycerin solution to ensure complete coverage.
- Wait for Absorption: Allow the flowers to soak in the glycerin solution for about 2 to 3 weeks. During this time, the glycerin will travel up the stem and replace the water in the petals and leaves.
- Remove the Flowers: After the soaking period, remove the flowers from the solution and gently pat them dry with a soft cloth. You may notice a change in texture, as the glycerin will have made the petals more pliable.
- Display or Store: Once dried, you can display your preserved flowers in arrangements, frames, or vases. Store them in a cool, dry place away from direct sunlight to maintain their color and prevent fading.
Preserving flowers with glycerin not only helps to maintain their beauty but also gives them a unique, flexible quality.
Silica Gel
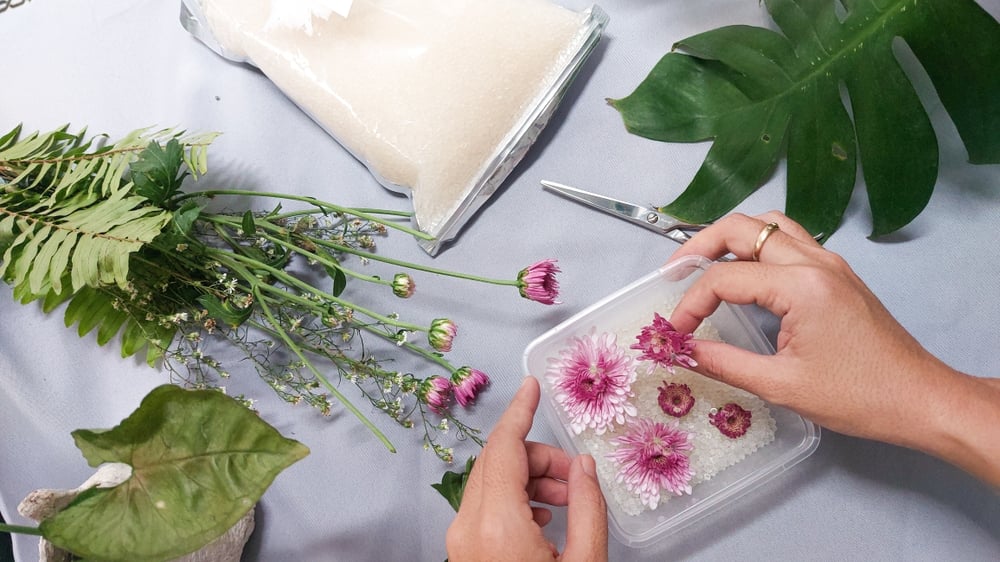
Using silica gel is a more permanent way of preserving flowers while maintaining their shape and color. This technique involves using silica gel crystals, which absorb moisture from the flowers, allowing for a quicker drying process. Here’s a step-by-step guide on how to use silica gel to preserve flowers:
Step-by-Step Guide to Preserving Flowers with Silica Gel
Gather Your Materials:
- Silica gel crystals (can be found at craft stores or online)
- An airtight container (like a plastic container with a lid)
- Fresh flowers (ensure they are in good condition)
- Scissors
- Optional: Foam or cardboard to create a base
- Prepare the Flowers: Trim the stems of the flowers to your desired length. Remove any leaves that will be below the surface of the silica gel, as they can retain moisture and cause mold.
- Create a Base Layer: Pour a layer of silica gel crystals (about 1-2 inches deep) into the bottom of your airtight container. If desired, you can use foam or cardboard to create a sturdy base.
- Arrange the Flowers: Place the flowers upright in the silica gel, making sure they do not touch each other. For flowers with delicate petals, you may want to place them on their sides or gently nestle them into the gel.
- Cover the Flowers: Slowly pour more silica gel crystals over the flowers, ensuring they are completely covered. Gently shake the container to help the silica gel settle around the blooms without crushing them.
- Seal and Wait: Close the airtight container and let it sit undisturbed for about 2-7 days, depending on the thickness and moisture content of the flowers. Check periodically to see if the flowers are fully dry.
- Remove the Flowers: Once fully dried, carefully remove the flowers from the silica gel. Brush off any excess crystals gently with a soft brush or your fingers.
- Store or Display: Store your preserved flowers in a cool, dry place away from direct sunlight to prevent fading. Alternatively, you can display them in a vase, frame, or use them in craft projects.
Preserving flowers with silica gel allows you to retain their original shape and color. This method is generally considered the best way to preserve flowers for the longest time.
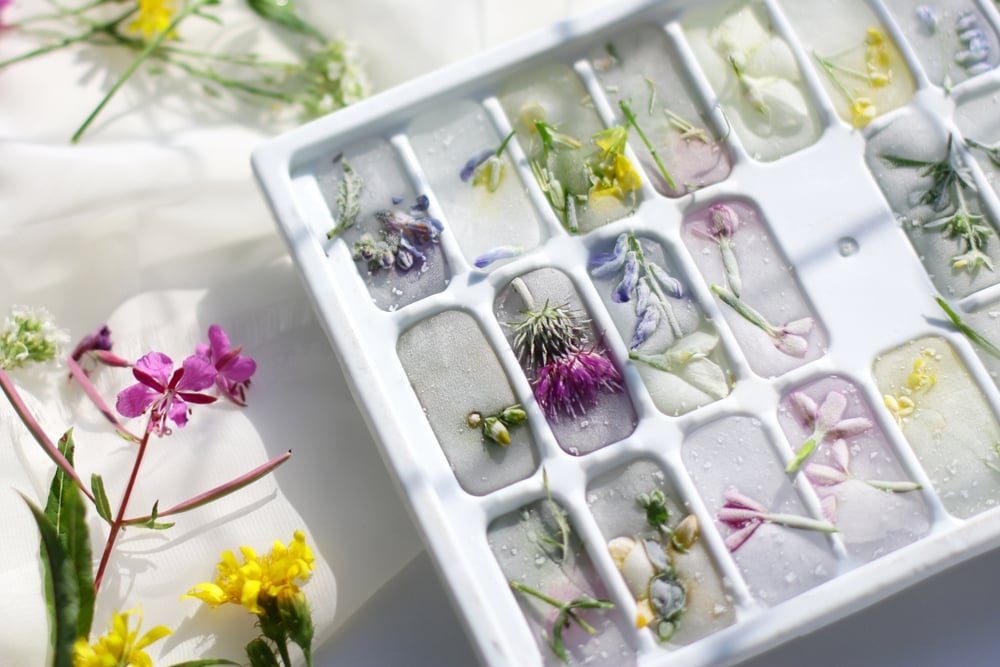
Freezing
Freezing flowers is a less common but effective method for preserving their beauty while maintaining their shape and color. It allows you to capture the flowers in their fresh state, creating a unique and beautiful display. Here’s a step-by-step guide on how to freeze flowers properly:
Step-by-Step Guide to Freezing Flowers
- Choose Fresh Flowers: Select flowers that are in perfect condition, with no signs of wilting or damage. Popular options for freezing include roses, tulips, and pansies.
- Prepare the Flowers: Trim the stems to your desired length, and remove any leaves that will be submerged in water during the freezing process. It’s best to freeze single blooms rather than bouquets.
- Create a Freezing Method: Ice Cube Method: Fill an ice cube tray with water. Place the flower heads in the water, ensuring they are submerged. Freeze until solid, usually 4-6 hours. Direct Freezing Method: Place the flowers individually on a tray lined with parchment paper to avoid sticking. Ensure they are not touching each other to avoid clumping. Place the tray in the freezer and freeze until solid.
- Remove from Freezer: Once the flowers are fully frozen, carefully remove them from the ice cube trays or trays used for direct freezing.
- Store Properly: For the ice cube method, you can keep the frozen cubes in a sealed container or freezer bag, ensuring they are airtight to prevent freezer burn. For directly frozen flowers, wrap each flower in plastic wrap or place them in an airtight container or freezer bag.
- Display or Use: You can use the frozen flowers in various ways, such as decorative ice cubes in beverages or as part of a unique arrangement. If you plan to use them in crafts or displays, keep them stored in the freezer until you’re ready to showcase their beauty.
Tips for Freezing Flowers
- Avoid Freezer Burn: Make sure to store the flowers in airtight containers to maintain their quality.
- Use Within a Year: Frozen flowers are best used within a year for optimal appearance and preservation.
- Handle Gently: Once thawed, frozen flowers may be more delicate, so handle them with care to avoid damage.
I like the thought of saving a few stems from a wedding bouquet in the freezer, and then taking them out on your first anniversary to remember and celebrate your love for one another.
Benefits of Preserving Flowers
Emotional Significance:
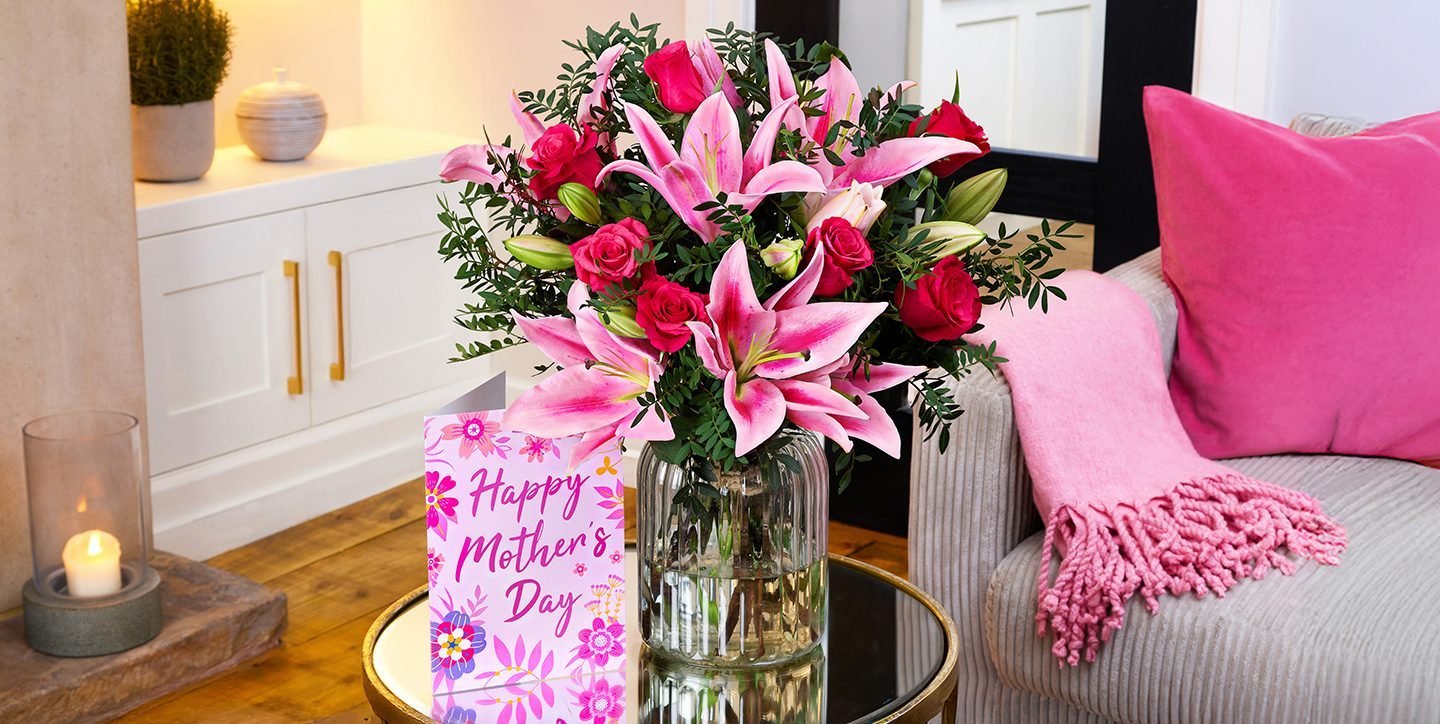
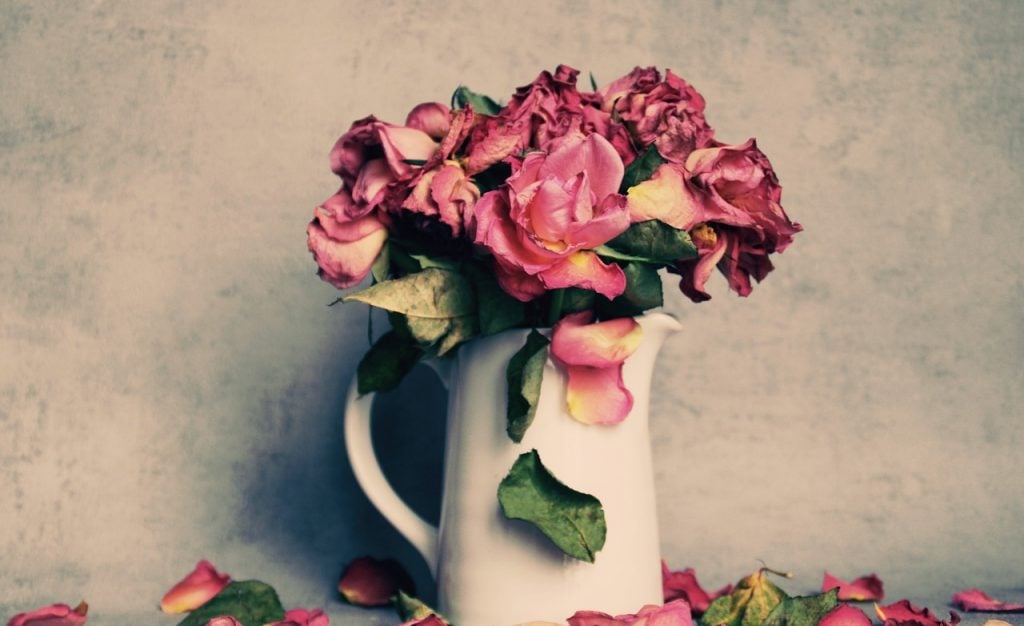
Preserving flowers allows individuals to hold onto special memories associated with significant events, such as weddings, anniversaries, or the birth of a child. Dried or preserved flowers serve as tangible reminders of these moments, eliciting feelings of joy and nostalgia.
Decorative Uses:
Preserved flowers can be used in a variety of creative ways to enhance home decor. From framed displays and centerpieces to bouquets and wreaths, preserved flowers add a touch of elegance and natural beauty to any space. They can also be integrated into craft projects, such as greeting cards and scrapbook pages.
Environmental Benefits:
Preserving flowers is an eco-friendly way to reduce waste. Instead of discarding wilted blooms, preservation allows you to extend their life and enjoy them for longer. This practice promotes sustainability by encouraging people to cherish and reuse natural materials.
Creating Dried Flower Arrangements
Ideas for Displaying Dried Flowers:
- Framed Wall Art: Create framed shadow boxes or wall art pieces by arranging dried flowers and foliage inside a clear glass frame. This turns your flowers into stunning, dimensional artwork that can be hung on the wall.
- Decorative Vases: Use a variety of unique or vintage vases to display individual dried stems or small arrangements. Experiment with different heights, colors, and materials to create an eye-catching display.
- Hanging Bouquets: Hang dried flower bouquets from the ceiling or walls using twine or decorative hooks. This creates a whimsical, bohemian effect and adds vertical interest to your decor.
Alternative options involve making wreaths and crafting bottles with dried flowers. There are many options. If you make something you love and enjoy, any choice will be a good one.
Tips for Care and Maintenance
- Avoid Sunlight: Place your dried flower arrangement in a cool, dry area away from direct sunlight to prevent fading.
- Dust Regularly: Use a soft brush or gently blow dust away from the flowers to keep them looking fresh